Showing posts with label tutorial. Show all posts

Saturday, February 2, 2013

Upcycling with Washi Tape

Recently my mother in law gave me some of her older Tupperware pieces. You know the ones - the large, white bowls with the white lids. From back in the days before Tupperware embraced colours. 

I haven't decided what I will do with the other pieces, but as soon as I saw this one I immediately thought:

Tupperfriends out there - what did this start its life as?

PENCIL HOLDER.

So I got out my washi tape and went to town, upcycling it to fit the decor of my (newly reorganised) scrap desk.
Which to choose? Which to choose?

Here's a few tips on how I did it.

Because the base was wider than my tape, i used a pattern that would blend when using a top and bottom layer. 
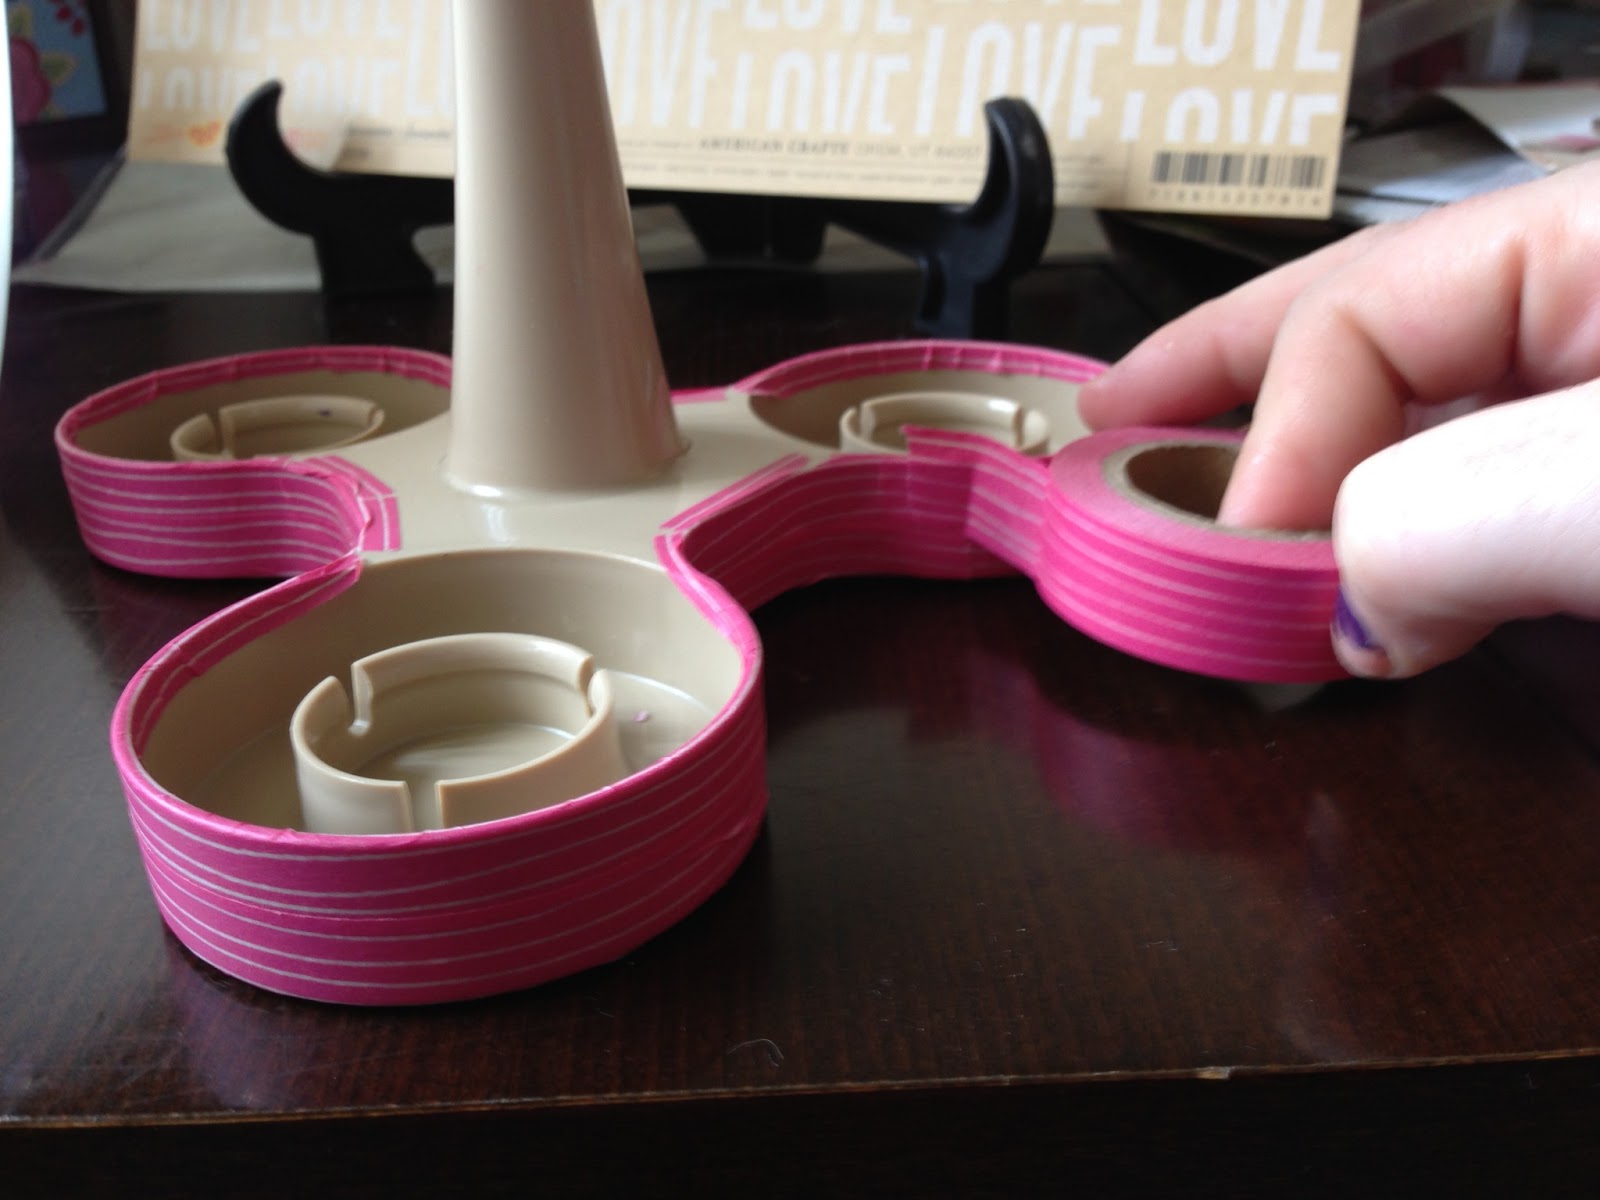

To get into the corners and other angles, I tore the tape or used small pieces that would get covered by the larger strips.

Rolling the washi tape over the lip ensures you cover it all
and gives it a neater finish
For the handle I layered long strips down the main part, and then wound pieces around the shaped handle. The washi tape was really forgiving so if I missed a spot I could just peel it back up have another go (or stick another piece over the top to cover my mistake) and with the cups back in the holder, noone will be looking to closely at the base (hopefully)


For the cups I kept it pretty simple and just put the tape along the top, folding it over as I went.


And there you have it - my upcycled pencil holder! 

VoilĂ !!! Totes cute!

I must say, it was fun and easy and I recommend using your washi tape hoard to change the look of your desk. I know there's a few of you out there with enough washi to wall paper a room! (Kate? Kristen? Anyone else?) If you do use washi to upcycle something, send us a photo and we will add it to the blog. 

Tracey's new pencil holder in action

Happy crafting, 

Tracey xox

Wednesday, March 28, 2012

What to do with all those scraps?

Its true ….. I have another paper-crafting obsession..... gift-tags. If your anything like me you probably have a box, tub, drawer or similar full of left over bits of paper that you have kept with the intent of one day using – you know those ones, where you just love the paper so much you can't bear to see a single cm end up as waste, and - if your like me some of these papers off-cuts may have been around for years. You may call me a scrap-hoarder, but now I know the reason I've been keeping all those off-cuts. 


It's not like I haven't seen cute gift tags before, but the penny had never dropped to use my scraps to make these little goodies. Blog surfing one night I came across these gorgeous tags made by Prima’s Cari Fennell – you can see her versions here,http://meandmymaryjanes.blogspot.com.au/ and hey presto I was on my way as a tag-maker. They are so easy to make, you can have a complete tag in under ten minutes and using your off-cuts you have no outlay.

So here’s how I make mine

Step 1 – I have a template, this one was a clothing label recycled by my mum and then by me, but you can easily print off a template online. I trace this onto an off-cut of cardstock and a piece of patterned paper or additional bit of cardstock and cut out using my craft knife.


Step 2 – I attach this to the piece of patterned paper/cardstock so its extra sturdy then cut around the shape of the tag.


Step 3 – I cut a half piece of patterned paper using the tag as a guide.


Step 4 - I tie a bit of ribbon to this half piece and then attach to the bottom of the tag and I ink all around the edges (my preference is the versamark pine cone ink.)


Step 4 – Usually I would add an embellishment but the patterned paper spoke for itself this time, I punch a hole in the top of the tag and then add some twine to finish it off.


With my finished tags I have been bundling them up and using them as gifts. A handmade gift made with love that doesn't cost the earth J

Fleur x