Showing posts with label Project Life. Show all posts

Wednesday, August 6, 2014

Project Preserve The Memories: Get Creative

In this final part of our Project Preserve The Memories series, Kristen gets creative!
Many thanks to Kristen for detailing her journey so thoroughly, and for sharing it with us. We hope that you have been inspired to jump in and get some photos into albums and document your story as well!

If you have missed our earlier posts in this series, you can check them out here

Step 10 – Be Creative With Layouts & Pocket Pages

Just because you are using a ProjectLife© Core Kit and pocket pages doesn't mean you can’t also throw in some full-page layouts when the photos call for it. Larger prints or odd sized photos and memorabilia are perfect for this!


You may also find yourself with one or more photos that ‘just won’t fit’ into any pocket page you have. This might be because it is the wrong orientation, or you have 10 photos and 9 pockets. Or perhaps you just don’t have a pocket configuration that suits that particular set of photos. Whatever your needs, think creatively about what you already have in your stash!

My We R Memory Keepers 9 pocket pages have vertical pockets, I have a collection of landscape photos. What to do...?
Here’s a couple of ideas...


In the example above, I simply rotated my pocket page to create landscape orientation pockets, trimmed off the excess 1.5” with my craft knife and ruler (so it ended up the ‘right’ width for my album including the same 1” margin as my other pages), punched some new holes and PRESTO I had exactly what I needed!  


Your page sizes don’t all need to be the same either, as long as they don’t overhang your album. In my 8.5x11 album I’ve used 5x7, 6x4, 6x6, 8x8 and even 4x4 (We R Memory Keepers instagram) page protectors for ‘mini layouts’ for 1 or 2 photos.


If trimming down a 12x12 page to create what you need, don’t throw away the excess you’ve trimmed off. Turn it into another mini insert! The spaces will be 6x4 or 3x4 in size if you have trimmed closely, so pop in some cards and photos and punch straight through if you don’t have excess for a margin to punch the holes in.


Step 11 – Adding Extra Photos

As family and friends see the album that you are creating, you will invariably find yourself the recipient of ‘extra’ photos that they have that belong in your album. Or perhaps as you work through you will discover photos that you missed previously tucked away.

Creating smaller ‘filler’ pages (using the techniques above) is the perfect ‘no-fuss’ way of quickly adding these extra photos. Simply pop them into the correct section of your ring-binder album, without the need to redo any of the pages you have already done.


I hope you have enjoyed getting started on your journey of preserving your memories as much as I have enjoyed sharing mine with you! We’d love you to share your own story with us, or photos of layouts you’re creating to preserve your memories. You can do this via our Facebook page or email them to us at dizzyizzyscrapbooking@gmail.com

Happy Scrapping!

Kristen
#ProjectPreserveTheMemories

Tuesday, July 29, 2014

Project Preserve the Memories: Journalling

Today we are continuing Kristens Project Preserve the Memories by getting into the storytelling and 'pretty' portion of the project: journalling & embellishing. Read on....

Step 8 – Journalling

In all honesty, journaling is the key to this whole project! The stories behind the photos are as precious as the photos themselves. If you are fortunate enough to have the stories/dates/locations/names recorded (or still have someone who can recall them for you) take the time to note them down. Voice record them. Anything!!
If you only have names, then some quick research might reveal a few extra details. A search of Birth, Death & Marriage records online gave me names, dates and locations for my Great- Great- Grandmother’s birth, marriage, children and death.  

Early photos have wonderful stories attached and I'm grateful my dad is still able to recall them for me, to preserve along with the photos.


Journalling onto cards as part of your layout is wonderful, but sometimes space or sensitive and private stories may require a little more creative approach. Some details of life are worth recording, but not necessarily displaying (so I've popped them in a LIFE pocket here). Pull-out journal cards can add a bit of fun too!

If you don’t have the information you need on hand, leave spaces (or pocket tags) where you think you may be able to add journalling later. The beauty of Project Life cards is that they look great left blank (as fillers) but could be journalled on later if a new story reveals itself. I have also intentionally left pockets empty on most pages (with a lovely filler card of course) in case any new photos materialise.


Handwriting... yes, handwriting. This is a source of discontent for many scrapbookers!

Although you may not like your own handwriting, I encourage you to use it!! Here’s an example... I asked my Dad to journal for this layout – the story of his dad being a butcher during the WW2 years. My dad’s handwriting is far from beautiful, but I love it. I love it because he wrote it. And I love the extra ‘touch’ it adds to the memory, the story and the layout.


I'm pretty sure that in years to come, those who read my scrapbooks (and yours) will feel the same... about OUR writing. So go ahead – put aside your own opinion of your handwriting and how it looks, and USE IT... because those people you scrapbook for will LOVE IT!!


Step 9 – Embellishing

The best thing about ProjectLife© Core Kits is that they are beautiful just as they are. And there are a variety of other brands now being released with hundreds of ranges to suit any purpose. Simply by using these, your ‘layouts’ will look complete. There’s no need to embellish further... unless you want to.
I am a scrapbooker at heart, and I love those pretty touches and depth that embellishments add, so I have included a sprinkling of them throughout this album. Nothing sharp and nothing too bulky though, and always paying attention to what photograph is on the other side and facing page (because they will press together when the album is closed).
Simple embellishments like paper or fabric flowers, buttons, die cuts and washi tape are perfect!


Our next post will be the conclusion of our series! Stay tuned!

Kristen xx

Wednesday, July 23, 2014

Project Preserve The Memories: The Fun Stuff

This week we return to our journey of Preserving The Memories! Kristen is back to help you with the next steps in your journey - now we are getting into the hands on scrapping!

So far we've put in A LOT of hours of preparation - removing photos from unsafe storage and albums, sorting, scanning and hunting down other keepsakes that belong with the photos. So now it’s time to get started on the FUN STUFF!

STEP 6 – Select your Tools Of The Trade!

The sense of relief I felt when I realised the difference that ProjectLife© was going to make to this project was enormous! I had put this off for so long, not sure of where to start and daunted by the enormity of ‘scrapbooking’ all of these photos... fitting dozens of teeny tiny photos onto a 12x12 page... papers... embellishments... Suddenly it was so straightforward, quick and easy!

After sorting your photos you will have a good idea of what sizes you are working with. And once you know what you’re working with you can choose pages that will suit well, and the corresponding size ring-binder album. The beauty of ring-binder albums (like the ones available from Dizzy Izzy) is that you can use any combination of pages in them and move them around as the need arises.

Because I had a lot of smaller vintage 2x3 photos I was thrilled to discover the We R Memory Keepers 8.5x11 pages purpose designed for this size! And the matching 8.5x11 full-size and divided pages complement perfectly for larger photos or ‘traditional’ layouts as well.

Quick Tip - Whatever size you go with, keep a variety of pocket pages handy, and draw up and print a ‘cheat sheet’ of the different configurations you have, for quick reference when you need to choose the right page for your photos. This will save you time as you work later on ;)

Then go ahead and choose a ProjectLife© Core Kit to use. These kits come with everything you will need to complete a whole album, with over 600 cards in a variety of coordinating designs. There is something to suit ALL styles and colour preferences, including a Heritage Kit, but I went with Cinnamon because I loved the colour palette and style of the cards. I also matched up some plain cardstock that I had in my stash, and set this aside for easy access when creating full page layouts. Packs of 12x12 paper to match the Project Life kits are also available for this purpose.


Step 7 – Start on the FUN STUFF!

Once you have the basic supplies you will need, start to work your photos into pages. The 3x4 Project Life cards are perfect for trimming down for smaller pockets and backing tiny photos so they fill the pocket and don’t slide around.

Because I'm working with the original photos (some people prefer to work with reprints from scans) I choose not to trim or crop any of these at all. But if working with reprints you have full freedom to print and crop to any size you need. (You can always print another copy if something goes horribly wrong). 

You can adhere your photos in many ways (double-sided tape, dots, washi tape) but I have opted for photo corners (again, because I’m working with the original photos) so they can be removed easily if needs be.


Coming up next... Journalling!

Friday, April 4, 2014

Meet & Greet with Becky Higgins

The original version of this post first appeared on Tracey's personal blog Live.Breathe.Dream.Be.


Last Tuesday I skipped work and headed off to Lidcombe Spotlight to meet a scrapping idol of mine, Becky Higgins. This is certainly not my usual Tuesday morning, but was an opportunity I couldn't pass up.


You may be familiar with Becky through her industry-revolutionising scrapping system Project Life. I'm only new to Project Life and pocket scrapping this year, but I've been a fan of Becky's for over 10 years.

When I first started scrapping, the goto source of inspiration was definitely Creating Keepsakes Magazine (which is sadly no longer published). I can remember spending hours pouring over the submitted layouts, copying the ones I liked, and wondering why I couldn't get my scrapping to look as 'finished' as the published layouts.

Remember, this is way before blogs, Instagram and Pinterest. It was way harder to find great sources of scrap inspiration than it is today. I was also the only one I knew who scrapbooked - it was before I found my lovely scrapping community.

Then I discovered Becky's sketches. Each month she would have an article in CK featuring one of her sketches, and different interpretations of the sketch.

CLICK!

It was like a light bulb seeing those sketch designs! They guided me through my first steps into page design, and pretty soon I was doing my own rough little sketches in my sketch book. As Becky said, 'that was what worked for you at the time!'

Of course, now I've come full circle and get to see my sketches come to life at the Dizzy Izzy Crafternoons & Retreats. It's always such a thrill to see how others interpret something I've created!


I took along my copies of Becky's Sketches books for her to sign. These books were like my scrapping bibles, and are now quite well used/loved. It was so exciting to sit next to Becky, and chat with her about my scrapping journey, and about Dizzy Izzy Scrapbooking.  Becky was gracious enough to answer all of our questions, and then she got stuck into signing goodies like journal cards and core kits.

The first of many days of signing for Becky on this trip
I had seen her on Creative Live, and I'm familiar with her mantra of 'Cultivate A Good Life & Record It', but I was pretty blown away. With Becky, what you see is what you get. One question I asked, as a scrapping entrepreneur myself, was how many hours a day does she work on the business. She spoke about when they first started the business, and the kids were smaller, that they would put them to bed, and she & David would be working until 3am. Every Night.  Now, she said, she has a bigger network and support team, but she still feels like she puts in hours & hours. Every Day.  As a scrapper, and as a woman, I completely admire Becky for both her business sense and also her work/life balance. It's something that I hope to work on and I definitely aim to be more like Becky.


I took along one of our Dizzy Izzy promotional milk cartons to give to Becky - she thought it was adorable! And because I gave her a little gift, I was given a gift in return - a signed Cut & Paste Mini Kit! So generous!  One lucky scrapper will win this treat at our May Retreat - will it be you??


Here is to Cultivating a Good Life, and Recording It.

Tracey xox

Tuesday, April 1, 2014

Project Preserve The Memories: Organisation

 Next in our series from guest blogger Kristen Cairns we learn about the importance of organisation when starting a project as huge as #ProjectPreservetheMemories. Read on....

Welcome back to my family memory keeping journey. I hope you are becoming inspired to get stuck into preserving those precious photos and memories – both old and new!


So far on our journey we have smiled as we are presented with copious amounts of family photos in varying states of storage and repair! We have then dedicated a few (or more) hours of time to removing these photos from their unsafe previous homes… and now what?
Well, this is the point at which it is easy to become overwhelmed. Where do I start? What on earth was I thinking? And (my own favourite) Who on earth put these photos in here and what sort of order is this?!?!

Which brings us to Step 3 – Sort Your Photos

I'm going to be completely honest – this CAN be time consuming, but the cost benefit is great! As in - the benefit of doing this properly at the beginning will reveal itself once you get into the ‘creating’ stage. Things will become quicker and easier! I promise ;)
There is no right or wrong way of doing this – whether chronologically (if you’re lucky enough to have dates recorded), or by people, families, groups, events, eras… Whatever you feel will make it easiest to record the stories and memories.


The photos you have received will often be mixed up in multiple albums/ boxes/ packets, and even multiple albums (belonging to different people) of similar photos. This ‘sorting’ step will make the scrapping process quicker while also lessening the chance of finding ‘extra’ photos later on after those pages have been completed! (Although the ProjectLife© system does allow for this – more on that later).

Sort your photos out – commandeer the dining table for a weekend if needs be – and give yourself plenty of space to create ‘piles’. Make a note of any of the information or labels from the albums, onto post-it-notes, and stick these with the photos, along with any other memorabilia. Don’t forget to check the back of photos for handwritten notes. When sorting, make a separate pile for photos that you have ‘no idea’ about, to come back to later on. You’ll be surprised at how you might recognise a background, an outfit or a group later on, and be able to reconnect some of these ‘lost’ photos. And if you can’t – maybe someone else can. If not, they are still a lovely inclusion, showing people, places, fashion trends and a general glimpse into the life and times of the day.


Step 4 – Gather the Memories

I hesitate to call this ‘Step 4’, because truthfully this is something that will continue throughout the entirety of the project. But now is as good a time as ever to begin!


Once the photos are sorted (or even as you are working through this), begin to collate the stories around the photos. Do you have other items – birth/death certificates, marriage certificates, newspaper clippings, receipts, lists, handwritten notes? Bundle these up with photos of the event/people concerned.


Make the most of any remaining older relatives – you may be surprised at what they remember and how happy they are to share their stories, recollections and insights. Making this a group effort certainly adds something to the journey ;) Using a voice recorder to talk through the photos creates an additional priceless memento! Number your photos if doing this, so you know which story belongs to which photo.

Step 5 – Scan & Store

Because these precious photos can’t be replaced, it’s important to scan them for sharing as well as security. Scan your photos at the highest possible resolution (at least 300 DPI or more), to allow for good quality reprinting. If you don’t have access to a scanner, a friend may have one you can borrow. Alternatively some stores will allow you to use their scanners (eg Officeworks) and save the files on a CD. Your local historical society may even have equipment that you can access to do this – along with some good advice and friendly assistance with the process, from people who value this type of pursuit!

When scanning, try to name the photos as you go. You might even like to sort the digital photos into ‘folders’ matching the way you have sorted the actual photos, to make them easier to find later on. Then give a copy of the scanned photos on disc to other family members and keep a couple of backups yourself, in different places “just in case”.

Some of your photos may well be in need of repair and editing, before being reprinted. This is the perfect time to call in a favour and let someone ELSE in the family contribute to the project ;) If you have a few clever family or friends, you could share the packets around, and if not there are also commercial services who specialise in this type of work.


Once you have scanned them, store the sorted photos in a way that makes them easy to see and use. Index card boxes, a folder or envelopes would work, but I have chosen to use ProjectLife© pocket pages in which to store my ‘piles’. 


There is a wide range of these available from Dizzy Izzy! And the beauty of doing this is that I can store all of my sorted photos in the same album binder along with the pages I have completed. This has also helped me work out what size album will work best and what configuration of pages will suit my photos.

Kristen

Thursday, March 20, 2014

Dizzy Izzy @ the Sutherland Heritage Fair - 29 March 2014

The Botany Bay Family History Society is presenting its Annual Heritage Fair on Saturday 29 March 2014 at the Tradies Club in Gymea, from 10am-4pm.


The day is an opportunity to find out about resources available to journey into your family's genealogy. The Society is providing a free bus to take participants to various historic sites around the Shire with its final drop off point at the Tradies.

Entry is free and Dizzy Izzy will be there to share how to record your family history through traditional scrapbooking & by using Project Life. We will also have some of our page kits, albums, and other items to shop for.

The Society is also holding a raffle on the day, and drawing lucky door prizes.

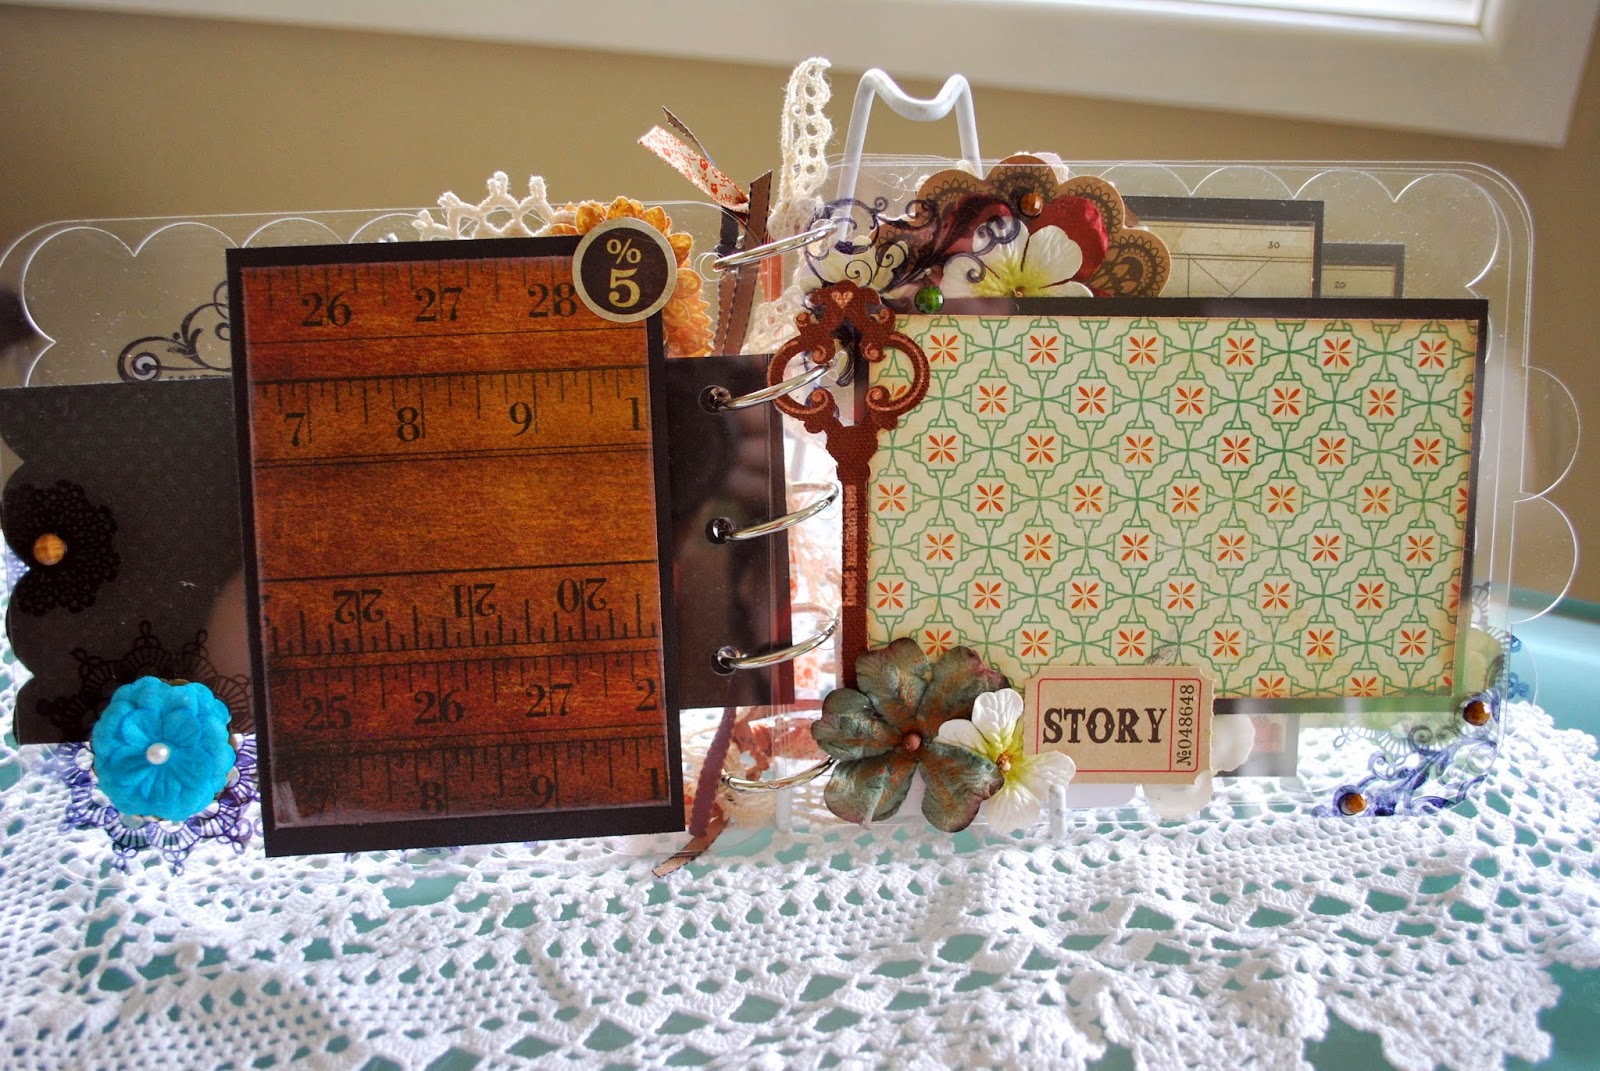
See below for our donation to the raffle, one of my bespoke albums, designed around the theme of 'Journey'. I've used papers and ephemera from Crate Papers DIY Shop.

Fleur xx


Thursday, February 27, 2014

De-Constructing Project Life - Part 3

I'm back with more Project Life.

For those of you who missed out my first post (you can read it here), I'm not taking the traditional approach with Project Life where it is a week at a time, or about day to day life. Rather I'm using Project Life to document the story of our first home.

It is my little project that highlights all the blood, sweat and tears... oh and the joyful moments too... that we put into really making our mark on this place.

Alrighty then, so I think that these are the layouts where I finally thought 'aha, I think I'm getting my PL mojo, baby!'


Things started to click when I realised I only need to make the adjoining pages all matchy-matchy. Yes, a 'doh' moment! As this isn't a typical Project Life style album it really means that I can be chronologically flexible (wow that's sounds like a really corporate phrase). Sometimes my photos weren't lining up sequentially in terms of the page protectors I was using. So while I've tried to keep as close to the timeline as possible, in some instances things are not going to be in the right order or there might be a bunch of odd filler photos to use up the back side of a page protector (see the top layout).

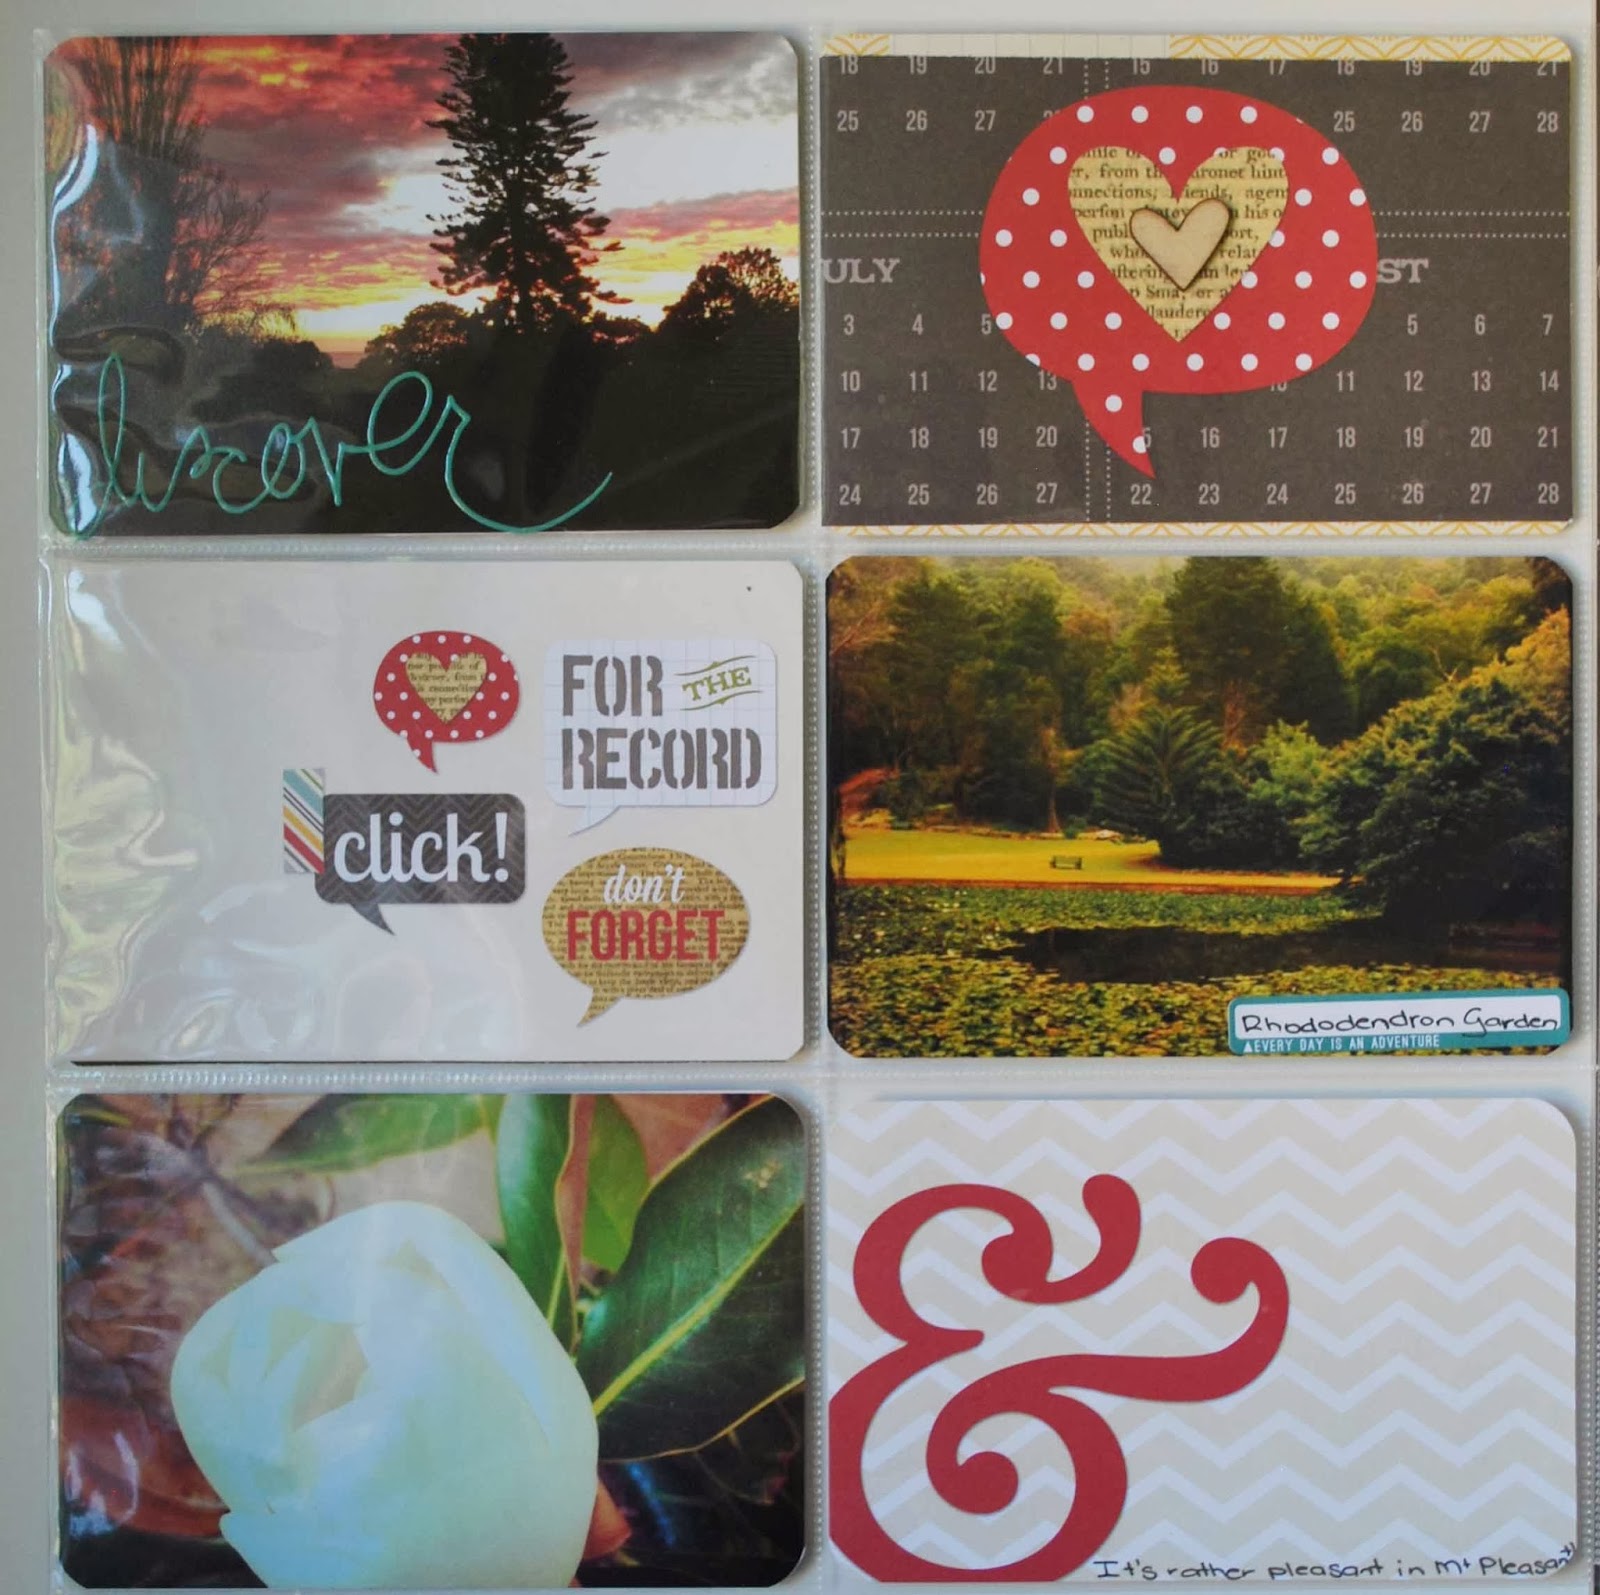
In the bottom page I've used PL cards from the Amy Tangerine Cut and Paste mini kit, Simple Stories, Kraft core kit and a random photo cut paper I had lying around.


Oh and with these layouts I started my love affair with the Heidi Swapp Buzz Words!


And have I ever told you how much I like to create embellishments using stamps, ink and paper? Absolutely the best when your on that elusive search for the 'just right' element! I've used my Ali Edwards stamps here.

Happy scrapping

Fleur

Tuesday, February 11, 2014

De-constructing Project Life Part 2

Wow - was it really all the way back in August that I last posted about Project Life? In fact my only post so far about Project Life... all about my excitement of cracking into a Project life core kit box. You can read that post here.

Well its been a bit of an evolutionary journey for me and Project Life since then. I will be the first to admit that at first I found it all a little overwhelming as I felt a bit of pressure to adhere to the old KISS (keep it simple stupid) philosophy. I am a lumpy bumpy scrapbooker, my style is typical 12"x12" layouts usually with just one photo. I felt a tad constrained sticking to just the one core kit. However now I feel like I have finally found my peace or perhaps my style with Project Life. I am elated that while watching the Australian Open that I was able to pull it all together and feel content with the Project Life journey I'm taking. 

I've got quite a few pages to share over the coming weeks - yes I watched a lot of tennis - yes I am disappointed Nadal lost - so stay tuned and watch the evolution unfold! I think I'm almost achieving straight sets!!!


Turns out I like to mix in some 12"x 12"layouts with my fave photos


Not loving the layout above. Its a bit to flat for me - but I guess every journey starts somewhere. I do however like the wood veneer Studio Calico Arrow that I inked using my StazOn black ink. These packs have oodles of arrows and hearts in them which have really gone a long way in my Project Life album.


I felt with these two pages above that I was starting to get my 'needs to be lumpy bumpy' but KISS issues sorted....somewhat still not 100% but I like certain elements like doubling strips of Washi Tape with a small element and the 2013 flair in the centre of my PL card. Plus I started incorporating cards that weren't in my core kit. In the bottom layout I have used one of the Simple Stories Journal Card Cutouts from the 24/Seven range. 

I'm struggling with the use of my own handwriting - not my forte! I have made it one of my new years resolutions to consciously make an effort with my handwriting but I feel a little bit conflicted as I am meant to be whizzing through the construction of this album. 

Evolving ...game.... but not quite set!

Happy Scrapping

Fleur x


Thursday, August 22, 2013

De-constructing Project Life!

Its been hard not to miss all of the hype surrounding project life especially in the lead-up to its release for general retailers in Oz. For the past little while it was mainly a phenomenon in the USA and for those of you who follow some of the celebrity scrapbookers such as Amy Tangerine or Ali Edwards I am sure that you have seen some stellar examples of their take on Project Life.


So what is Project Life? - Lets go through the concept just to make sure we are all clear!!!!

Project Life has been designed by Becky Higgins as a way to simplify the scrapbooking process. Becky's view is that she has taken the hard work out of scrapbooking by designing all the ""bits" (including the layout of your page).  It is meant to be a back to basics approach for the complete novice or scrapbook guru where you can display your photos with as little or as much detail. The way that you may see many scrappers using the system is via a week at a time approach, however it is pretty easy to adapt this system in any way you see fit.

Ok - so I've been hanging out to try this system simply because I've had a project in mind. I want to record the journey of our house as it changes through the years. I've been taking photos as we do various bits and pieces around the place. So here comes the challenge for me. Simplifying things is not my forte and I'm a more is less kinda gal but I'll see how I go. I'm also not so great with ongoing projects but hopefully I can stick with this and make it work with my hectic schedule.


For my Project Life I am using the Becky Higgins Kraft  core kit, the big variety pack #1 of page protectors and a D ring album.

Ok so with a glass of red in reaching distance - I'm all set to go!!!! Let's crack the kraft kit!!!


Ok - inside the core kit you have 616 cards in a combination of 4 x 6, 3 x 4 sizes. Some cards have been specifically designed to be first page or last page cards while others show suggested layout placement.


Inside the page protectors box you get 60 page protectors in 6 different styles so 10 of each.


So now the assembly begins! Let's see how easy this really is!!!


So with the assistance of a kind helper (a.k.a hubby dearest) it appears that this process may work in terms of my poor time management. My downfall will be keeping up with the journalling - but perhaps that's a good on the train job?

So here is my first completed page - with some embellishment.  I just couldn't help myself!! I made the disclaimer earlier I am a more is less kinda girl!


Tracey has recently added all our our Project Life products to our webstore http://www.dizzyizzyscrapbooking.com.au/ .

I'm interested to hear your project life journey's - how are you using it to suit your lifestyle? Please comment in the links below, tag us in pics via facebook (dizzy izzy scrapbooking) or send photos to dizzyizzy@y7mail.com

Happy Project Lifing!

Fleur x